
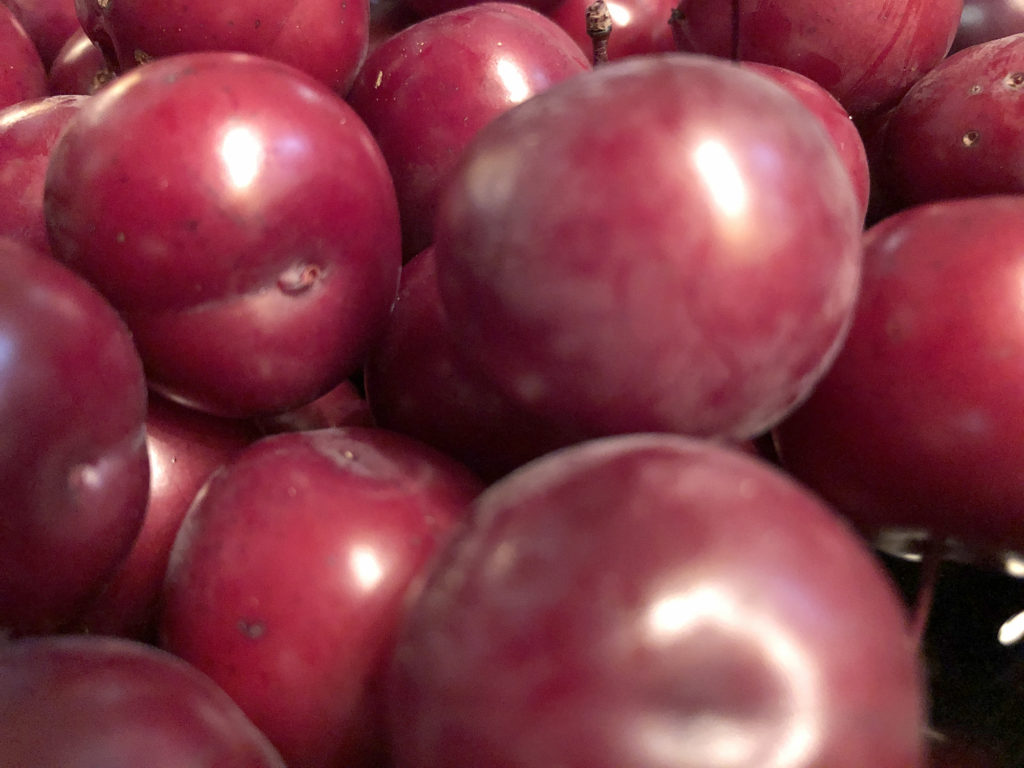
Umeboshi are Japanese salted plums. We have three plum trees here on The butterfly Hill that had not been pruned in many years. Since I was learning what we have here on The Butterfly Hill first, I wanted to know how to take care of the trees and cure its fruit.
After much research, it was decided, the trees needed to severely cut back to regain structure to bear fruit. At this point we could see plums on the trees, so we waited until they ripened. The trees were pruned, we harvested what we had, and set out to find a recipe to make Umeboshi!
I am so very lucky to have a wonderful network of family in my Hula world and I put out feelers to ask if anyone knew how to make them. No one did, but one of my hula sisters, Char remembered her grandma making them and went online to see if she could find a video that looked legit. She did and we followed this video with the cutest Obaachan ever!
Ok, here we goooooo!
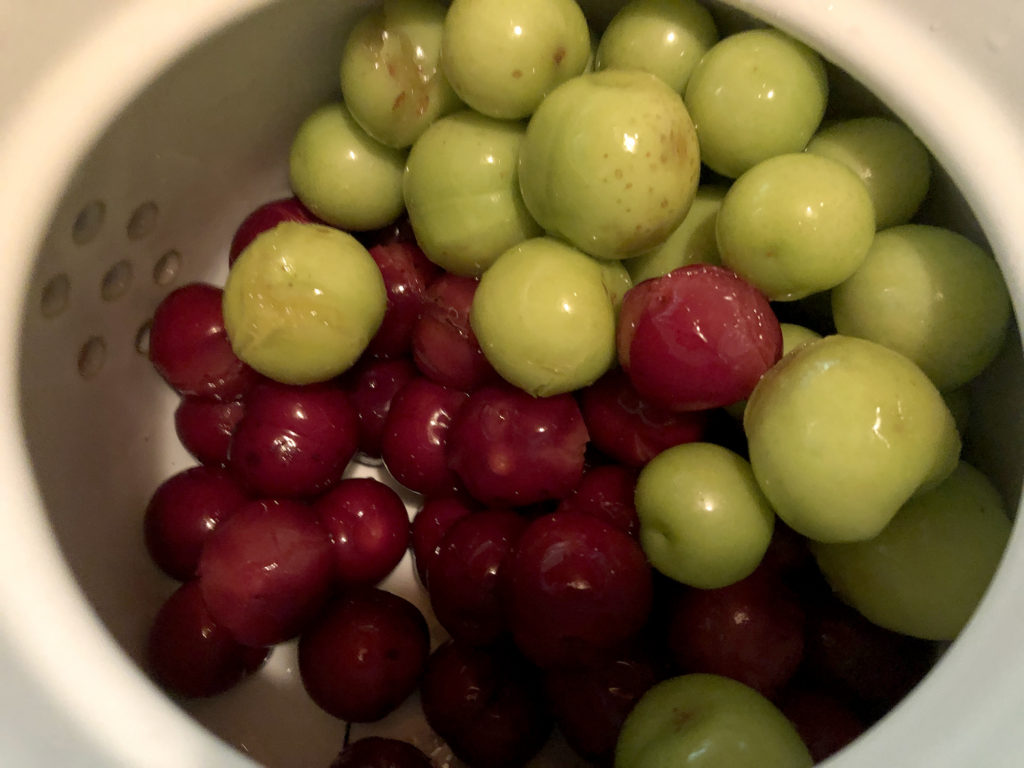
Collect and wash your plums, you want to separate the ripe plums from the not so ripe as the underripe need to pre-soak in water first. Keep the ripe plums in the fridge so they don’t over ripen. I put the not quite ripe plums in water for 3 days.
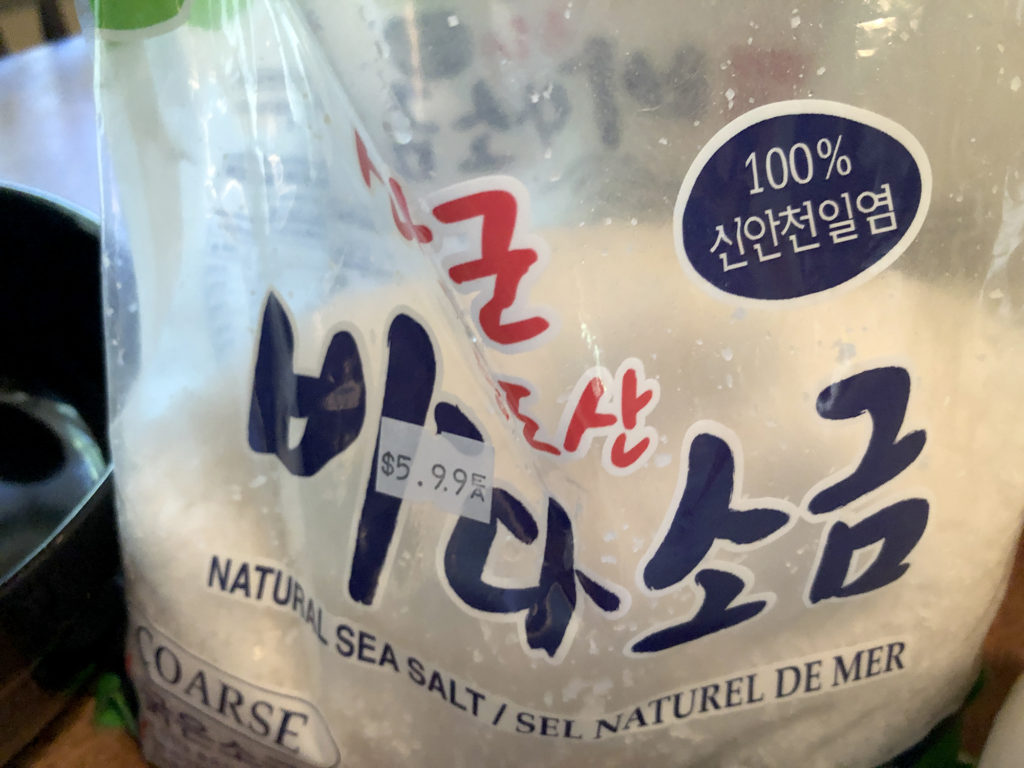
Next, put equal weights of plums and salt into a crock or food-grade bucket. (We used a traditional ceramic crock.) Use a one to one ratio of salt and plums. I went to my local Asian market and asked them what salt to get. They recommended a coarse sea salt, which drys really well when you have the leftover in the crock to make plum salt with.
Then we put a plate on top of the plums and a deep bowl on top of that. Inside the bowl, we added weights to put the plums and salt under pressure and covered the crock.
Leave the weight on until the plums and salt slosh. You will see lots of liquid come out of the plums creating the brine.
Be careful not to break the skin of the plums. You are trying to get the natural juices out of the plums and the salt preserves as you go, without breaking them.
Then take the weights off and leave them in the crock for another 3 to 4 weeks, this completes the salt brine. Save the plum vinegar, as it that will be used in the final jarring stage. And layout any left out salt to dry for plum salt.
After 3 weeks check your plums, if they seem like they are shriveling up and looking strange, you’re doing great! We kept ours for 4 weeks, they looked like they were shrinking, but not to raisin status. More like halfway to raisins. Then its time to put them out to dry…
I took a table and put it in the sunniest spot in the yard. Then I covered it with paper. Next, wax paper. The plums were spread out and left to dry. I covered mine with cheesecloth during the day and a towel at night. We do not have full sun, so although the recipe I was following said 2 days, ours went 4 days. Turn them over daily. keeping them in the sun till they turn white. Don’t worry, the salt has preserved them.
Yea! we have come so far…. Now we are going to take the Shiso and add 1 cup of salt to the leaves and let sit in the sun for 2 days. I take most of the stems out and use mostly leaves.
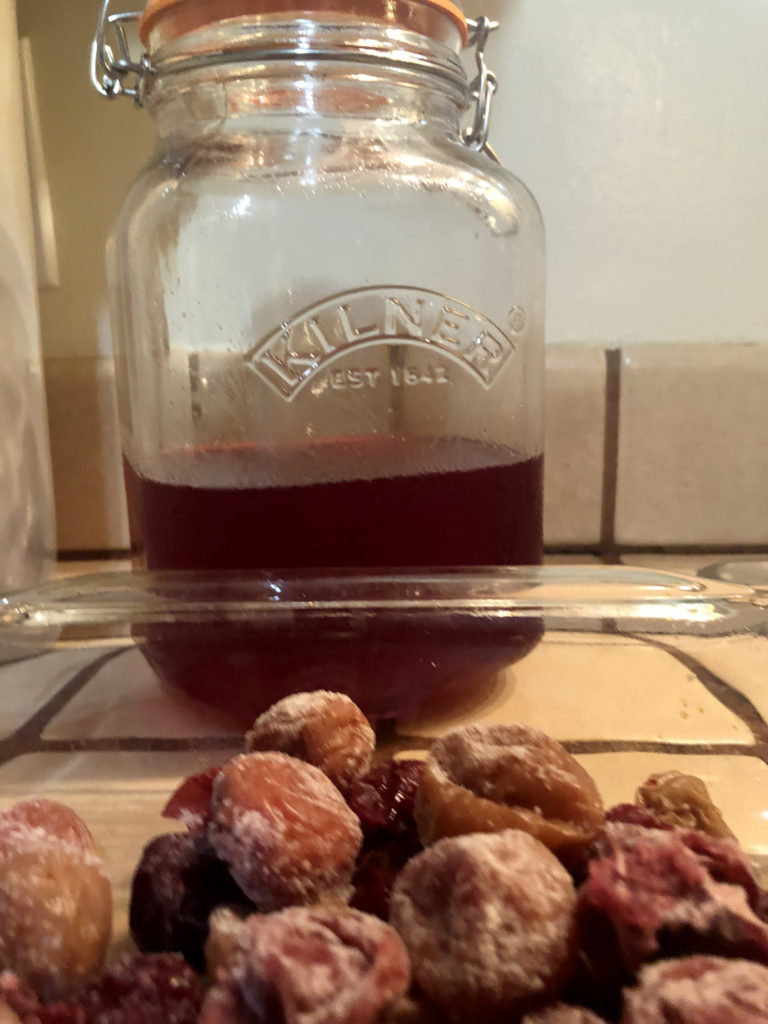
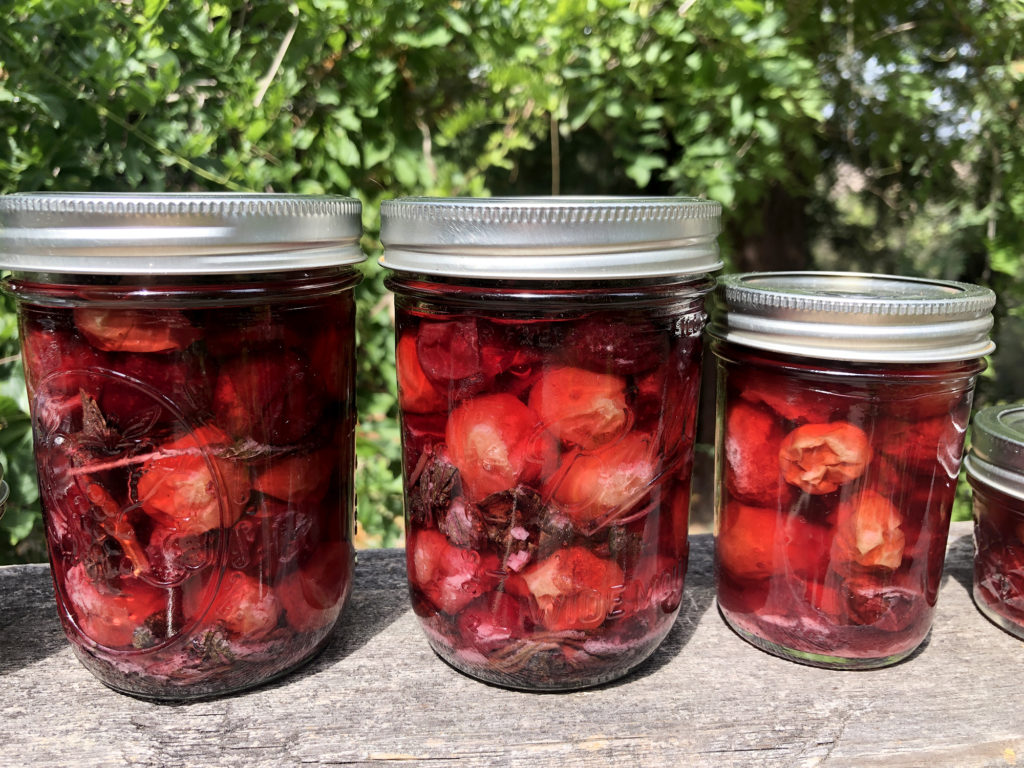
Time to jar! Get your salted plums, vinegar and Shiso ready. First, wash all jars and lids. Then boil for 2 minutes to sterilize them. Set them aside to cool.
Then add a layer of Shiso to the bottom of the jar and then add your salted plums. Another layer of Shiso and plums. Then fill the jar with the plum vinegar and seal. Set in the sun so the jars will pop to seal. Now, all we have to do is wait 6 months for the fermentation process to happen. I know, I know………
It is said that once the salted plums or Umeboshi have fermented, they will last for many years. I have heard stories of Obaachan’s having several years of Umeboshi in their stores and only bring out the very oldest for very special occasions. How very cool is that!
Once the Umeboshi has finally cured they are used for a condiment to eggs and rice, or meat veggies and rice. I simply can’t wait to try my Umeboshi!
Pingback: Ume Boshi – The Butterfly Hill